代码签名
代码签名是一种安全技术,用于证明应用程序由您创建。您应该对应用程序进行签名,以避免触发操作系统安全警告。

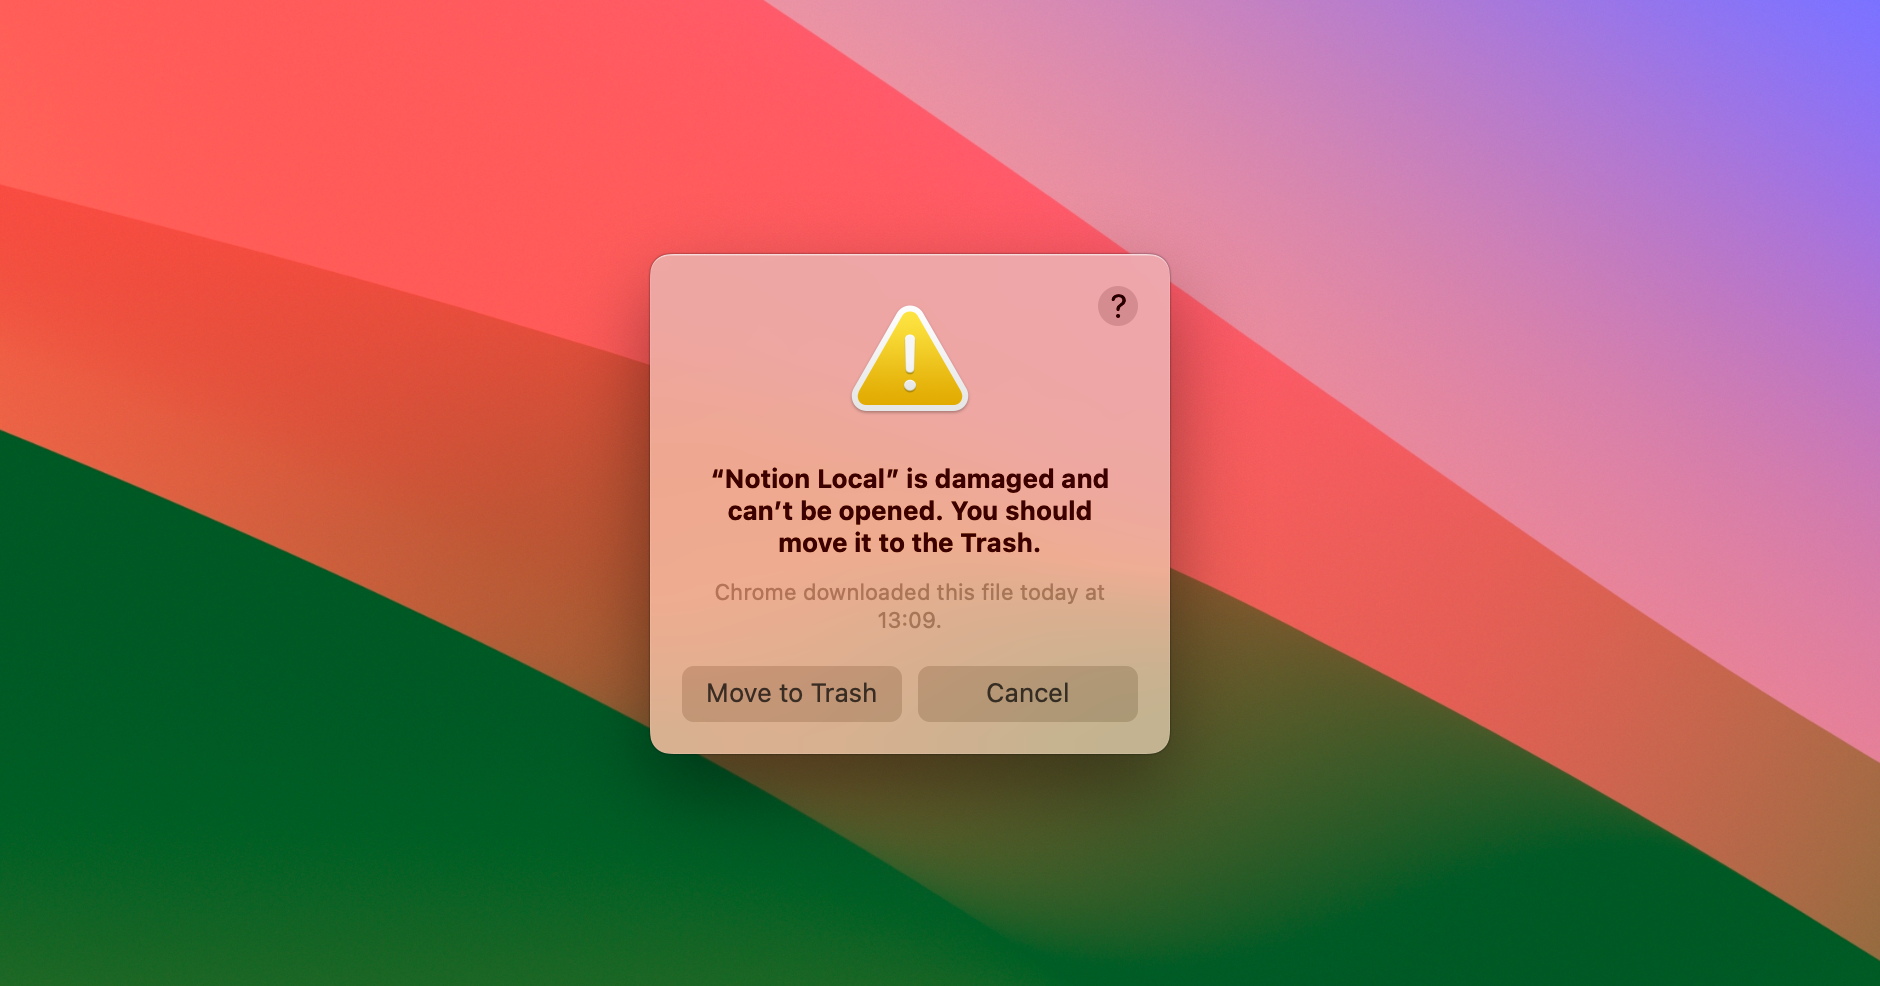
Windows 和 macOS 都会阻止用户运行未签名应用程序。可以不进行代码签名就分发应用程序,但用户需要经过多个高级和手动步骤才能运行它们。
如果您正在构建一个计划打包和分发的 Electron 应用程序,则应对其进行代码签名。Electron 生态系统工具使您的应用程序签名变得简单。本文档将介绍如何在 Windows 和 macOS 上为您的应用程序签名。
macOS 构建的签名和公证
准备发布 macOS 应用程序需要两个步骤:首先,应用程序需要进行代码签名。然后,需要将应用程序上传到 Apple 进行一个称为“公证”的过程,在此过程中,自动化系统将进一步验证您的应用程序不会做出危害用户安全的行为。
要开始此过程,请确保您满足签名和公证应用程序的要求
- 注册 Apple Developer Program(需要年费)
- 下载并安装 Xcode - 这需要一台运行 macOS 的电脑
- 生成、下载并安装 签名证书
Electron 的生态系统倾向于配置和自由,因此有多种方法可以为您的应用程序签名和公证。
使用 Electron Forge
如果您使用的是 Electron 首选的构建工具,则需要对配置进行一些添加才能为应用程序签名和公证。 Forge 是官方 Electron 工具的集合,底层使用了 @electron/packager、@electron/osx-sign 和 @electron/notarize。
有关如何配置应用程序的详细说明,请参阅 Electron Forge 文档中的 签名 macOS 应用程序 指南。
使用 Electron Packager
如果您不使用 Forge 这样的集成构建管道,则很可能使用的是 @electron/packager,它包含了 @electron/osx-sign 和 @electron/notarize。
如果您使用 Packager 的 API,您可以传递 用于签名和公证应用程序的配置。如果下面的示例不满足您的需求,请参阅 @electron/osx-sign 和 @electron/notarize 以了解许多可能的配置选项。
const packager = require('@electron/packager')

packager({
  dir: '/path/to/my/app',
  osxSign: {},
  osxNotarize: {
    appleId: 'felix@felix.fun',
    appleIdPassword: 'my-apple-id-password'
  }
})
签名 Mac App Store 应用程序
请参阅 Mac App Store 指南。
签名 Windows 构建
使用传统证书
在对应用程序进行代码签名之前,您需要获取代码签名证书。与 Apple 不同,Microsoft 允许开发人员在公开市场上购买这些证书。它们通常由提供 HTTPS 证书的公司出售。价格各不相同,因此货比三家可能值得您花费时间。热门经销商包括
- Certum EV 代码签名证书
- DigiCert EV 代码签名证书
- Entrust EV 代码签名证书
- GlobalSign EV 代码签名证书
- IdenTrust EV 代码签名证书
- Sectigo (前身为 Comodo) EV 代码签名证书
- SSL.com EV 代码签名证书
需要强调的是,自 2023 年 6 月起,Microsoft 要求软件使用“扩展验证”证书进行签名,也称为“EV 代码签名证书”。过去,开发人员可以使用一种更简单、更便宜的证书,称为“Authenticode 代码签名证书”或“基于软件的 OV 证书”。这些更简单的证书不再提供任何优势:Windows 将您的应用程序视为完全未签名,并显示相应的警告对话框。
新的 EV 证书必须存储在符合 FIPS 140 级 2、Common Criteria EAL 4+ 或同等标准的硬件存储模块中。换句话说,证书不能简单地下载到 CI 基础设施中。实际上,这些存储模块看起来像是花哨的 USB 闪存驱动器。
许多证书提供商现在提供“云签名”服务 - 整个签名硬件都在他们的数据中心,您可以使用它来远程签名代码。这种方法在 Electron 维护者中很受欢迎,因为它使得在 CI(如 GitHub Actions、CircleCI 等)中签名应用程序相对容易。
在撰写本文时,Electron 的自有应用程序使用了 DigiCert KeyLocker,但任何提供用于签名文件的命令行工具的提供商都将与 Electron 的工具兼容。
Electron 生态系统中的所有工具都使用 @electron/windows-sign,并通过 `windowsSign` 属性公开配置选项。您可以直接使用它来签名文件,或者将相同的 `windowsSign` 配置用于 Electron Forge、@electron/packager、electron-winstaller 和 electron-wix-msi。
使用 Electron Forge
Electron Forge 是签名您的应用程序以及 `Squirrel.Windows` 和 `WiX MSI` 安装程序的推荐方式。有关如何配置应用程序的详细说明,请参阅 Electron Forge 代码签名教程。
使用 Electron Packager
如果您不使用 Forge 这样的集成构建管道,则很可能使用的是 @electron/packager,它包含了 @electron/windows-sign。
如果您使用 Packager 的 API,您可以传递 用于签名应用程序的配置。如果下面的示例不满足您的需求,请参阅 @electron/windows-sign 以了解许多可能的配置选项。
const packager = require('@electron/packager')

packager({
  dir: '/path/to/my/app',
  windowsSign: {
    signWithParams: '--my=custom --parameters',
    // If signtool.exe does not work for you, customize!
    signToolPath: 'C:\\Path\\To\\my-custom-tool.exe'
  }
})
使用 electron-winstaller (Squirrel.Windows)
electron-winstaller 是一个可以为您的 Electron 应用程序生成 Squirrel.Windows 安装程序的包。这是 Electron Forge 的 Squirrel.Windows Maker 在底层使用的工具。与 `@electron/packager` 类似,它在底层使用 @electron/windows-sign 并支持相同的 `windowsSign` 选项。
const electronInstaller = require('electron-winstaller')
// NB: Use this syntax within an async function, Node does not have support for
//     top-level await as of Node 12.
try {
  await electronInstaller.createWindowsInstaller({
    appDirectory: '/tmp/build/my-app-64',
    outputDirectory: '/tmp/build/installer64',
    authors: 'My App Inc.',
    exe: 'myapp.exe',
    windowsSign: {
      signWithParams: '--my=custom --parameters',
      // If signtool.exe does not work for you, customize!
      signToolPath: 'C:\\Path\\To\\my-custom-tool.exe'
    }
  })
  console.log('It worked!')
} catch (e) {
  console.log(`No dice: ${e.message}`)
}
有关完整的配置选项,请查看 electron-winstaller 存储库!
使用 electron-wix-msi (WiX MSI)
electron-wix-msi 是一个可以为您的 Electron 应用程序生成 MSI 安装程序的包。这是 Electron Forge 的 MSI Maker 在底层使用的工具。与 `@electron/packager` 类似,它在底层使用 @electron/windows-sign 并支持相同的 `windowsSign` 选项。
import { MSICreator } from 'electron-wix-msi'

// Step 1: Instantiate the MSICreator
const msiCreator = new MSICreator({
  appDirectory: '/path/to/built/app',
  description: 'My amazing Kitten simulator',
  exe: 'kittens',
  name: 'Kittens',
  manufacturer: 'Kitten Technologies',
  version: '1.1.2',
  outputDirectory: '/path/to/output/folder',
  windowsSign: {
    signWithParams: '--my=custom --parameters',
    // If signtool.exe does not work for you, customize!
    signToolPath: 'C:\\Path\\To\\my-custom-tool.exe'
  }
})

// Step 2: Create a .wxs template file
const supportBinaries = await msiCreator.create()

// 🆕 Step 2a: optionally sign support binaries if you
// sign you binaries as part of of your packaging script
for (const binary of supportBinaries) {
  // Binaries are the new stub executable and optionally
  // the Squirrel auto updater.
  await signFile(binary)
}

// Step 3: Compile the template to a .msi file
await msiCreator.compile()
有关完整的配置选项,请查看 electron-wix-msi 存储库!
使用 Electron Builder
Electron Builder 自带了一个自定义解决方案来签名您的应用程序。您可以在此处找到 其文档。
使用 Azure Trusted Signing
Azure Trusted Signing 是 Microsoft 现代化的基于云的 EV 证书替代方案。它是 Windows 上代码签名的最便宜的选择,并且可以消除 SmartScreen 警告。
截至 2025 年 10 月,Azure Trusted Signing 面向在美国和加拿大拥有 3 年以上可验证业务历史的组织,以及在美国和加拿大的个人开发者。Microsoft 正在努力使该计划更广泛地可用。如果您在稍后阅读本文,最好检查资格标准是否有所更改。
使用 Electron Forge
Electron Forge 是签名您的应用程序以及 `Squirrel.Windows` 和 `WiX MSI` 安装程序的推荐方式。有关 Azure Trusted Signing 的说明,请在此处找到 这里。
使用 Electron Builder
有关 Azure Trusted Signing 的 Electron Builder 文档,请在此处找到 这里。
签名 Windows Store 应用程序
请参阅 Windows Store 指南。